

Start with your intention
Before you browse any shops or open any boxes, pause to define what you actually want to achieve. A crystal chart works best when it acts as a targeted tool rather than a general mood ring. When you pick up a stone, you are looking for a specific property associated with a clear goal. Whether you need stress relief, better sleep, or protection from negative energy, narrowing your focus helps you select the right stones and use them effectively.
Trying to cover every emotional need at once usually leads to buying stones you never use. It is easy to get overwhelmed by the vast number of options available, but your chart should reflect your current priorities. Start with one clear intention. If you are feeling anxious, for example, you might choose amethyst for calm or black tourmaline for grounding. If you are looking to improve relationships, rose quartz is the standard choice for love and compassion.
Think of your crystal chart as a personal toolkit. Just as you would grab a hammer for a nail or a wrench for a bolt, you should reach for a specific crystal to address a specific situation. This approach prevents the "clutter" effect where multiple stones sit unused because their purposes conflict or are too vague. By assigning a single, concrete intention to each stone, you create a functional system that supports your well-being without adding mental load.
To keep your chart simple, list your top three goals for the coming month. Common starting points include:
- Stress Relief: Look for stones known for calming properties, such as amethyst or lepidolite.
- Protection: Choose stones that are traditionally associated with shielding, like black tourmaline or obsidian.
- Energy and Focus: Select stones that are believed to boost vitality, such as citrine or tiger’s eye.
Once you have defined your intention, you can begin to fill your chart with stones that match those specific needs. This method turns a potentially chaotic collection into a structured, purposeful practice.
Pick three starter stones
Starting a crystal chart does not require a massive collection. Three well-chosen stones are enough to cover the primary themes of love, healing, and protection. This trio prevents overwhelm and gives you a clear, functional foundation for your chart.
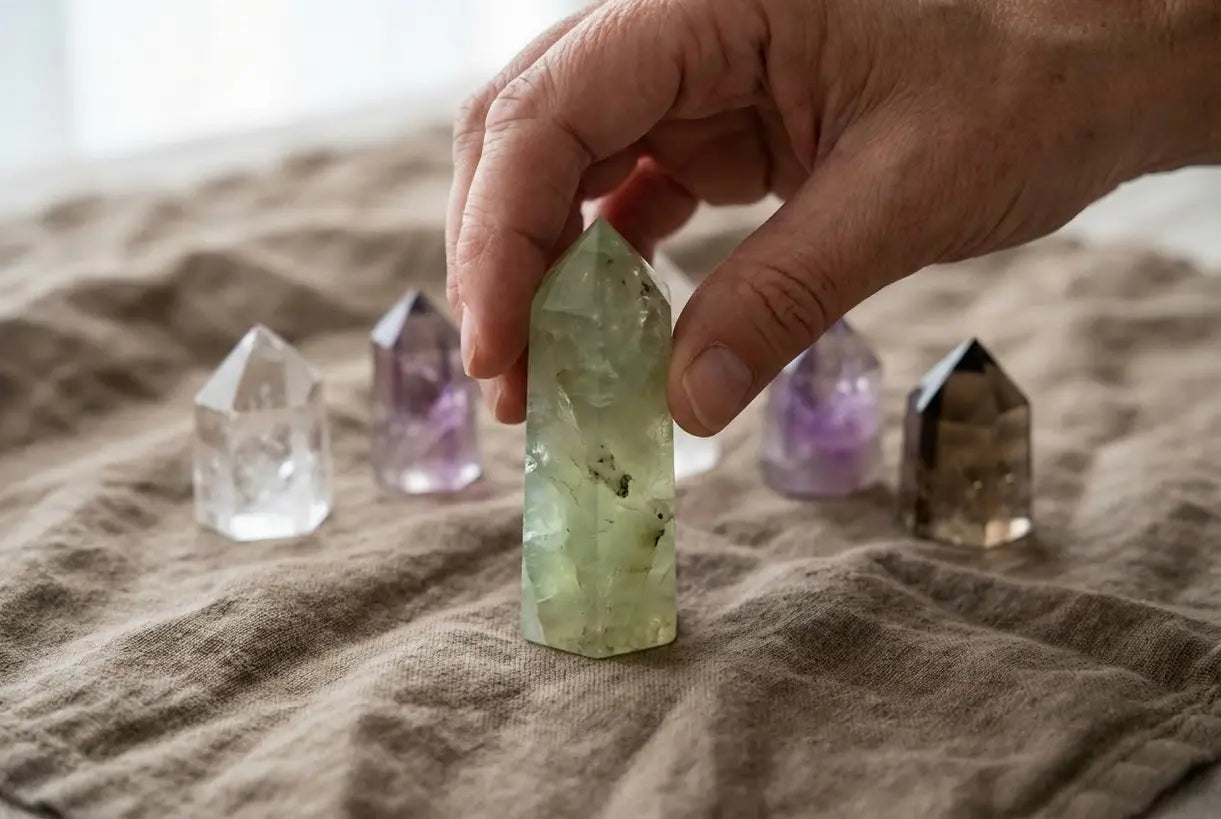
Rose Quartz, Amethyst, and Black Tourmaline are the standard entry points. They are widely available, affordable, and serve distinct purposes. Think of them as the primary colors of your chart: you can mix them, but you need each one to create a complete picture.
Rose Quartz
Rose Quartz is the stone for self-love and emotional healing. It is soft pink and gentle, making it ideal for opening the heart center. Place it in your bedroom or near your workspace to encourage calm interactions and reduce stress. It works best when you want to soften harsh emotions or invite compassion into your routine.
Amethyst
Amethyst is known for its calming and protective qualities. The purple stone helps clear mental fog and promotes restful sleep. Keep it on your nightstand or near your desk to maintain focus and reduce anxiety. It is a versatile stone that supports clarity without being overbearing.
Black Tourmaline
Black Tourmaline is a powerful shield. It is used to block negative energy and electromagnetic stress from devices. Place it near entryways, under your desk, or by your computer. This stone grounds you and creates a boundary between your personal space and the outside world.
| Stone | Primary Property | Best Placement |
|---|---|---|
| Rose Quartz | Love & Emotional Healing | Bedroom or Workspace |
| Amethyst | Calming & Clarity | Nightstand or Desk |
| Black Tourmaline | Protection & Grounding | Entryways or Near Electronics |
Identify your crystals correctly
A crystal chart is only as effective as the stones it contains. Misidentifying a stone can lead to incorrect usage, whether you are placing them in a specific grid pattern or carrying them for daily support. Many crystals share similar appearances, making visual confirmation essential before you begin building your chart.
The most reliable way to verify a stone is by examining its color, transparency, and hardness. These three physical properties act as a fingerprint for most common healing crystals. By checking these traits against a reliable reference, you can ensure your chart is built on accurate information.
Check color and transparency
Color is the first clue, but it can be deceiving. For example, both amethyst and smoky quartz can appear purple or brownish depending on their exposure to light and heat. Look for transparency as well. Clear quartz is transparent and glass-like, while obsidian is opaque and black. If a stone is cloudy, it might be a different variety entirely, such as milky quartz.
Test hardness carefully
Hardness determines how a stone scratches and feels. You can use a simple scratch test with common objects, but only if the stone’s value or aesthetic isn’t compromised. A steel nail can scratch calcite but not quartz. This helps distinguish softer stones like selenite from harder ones like quartz or topaz. Always handle stones gently to avoid damage during identification.
Compare with trusted sources
Once you have noted the color and hardness, compare your findings with a trusted crystal identification guide. Reputable sources provide detailed photos and descriptions that help match your stone to its correct name. This step ensures that the properties you attribute to the crystal are accurate for your chart.
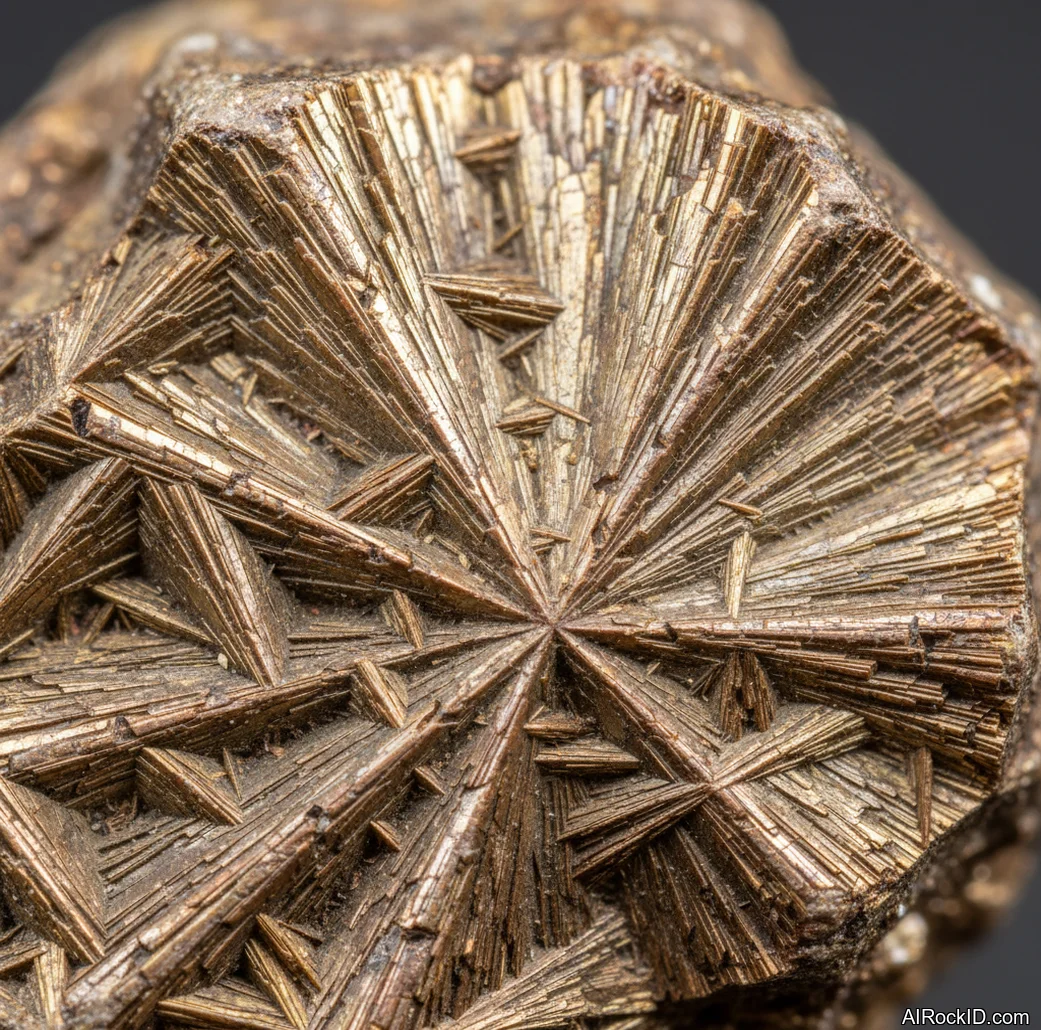
Hold the stone up to natural light. Note its primary color and whether it is transparent, translucent, or opaque. Look for internal inclusions or patterns that are unique to specific varieties.
Gently try to scratch the stone with a fingernail, copper coin, or steel nail. Record which material leaves a mark. This helps place the stone on the Mohs hardness scale.
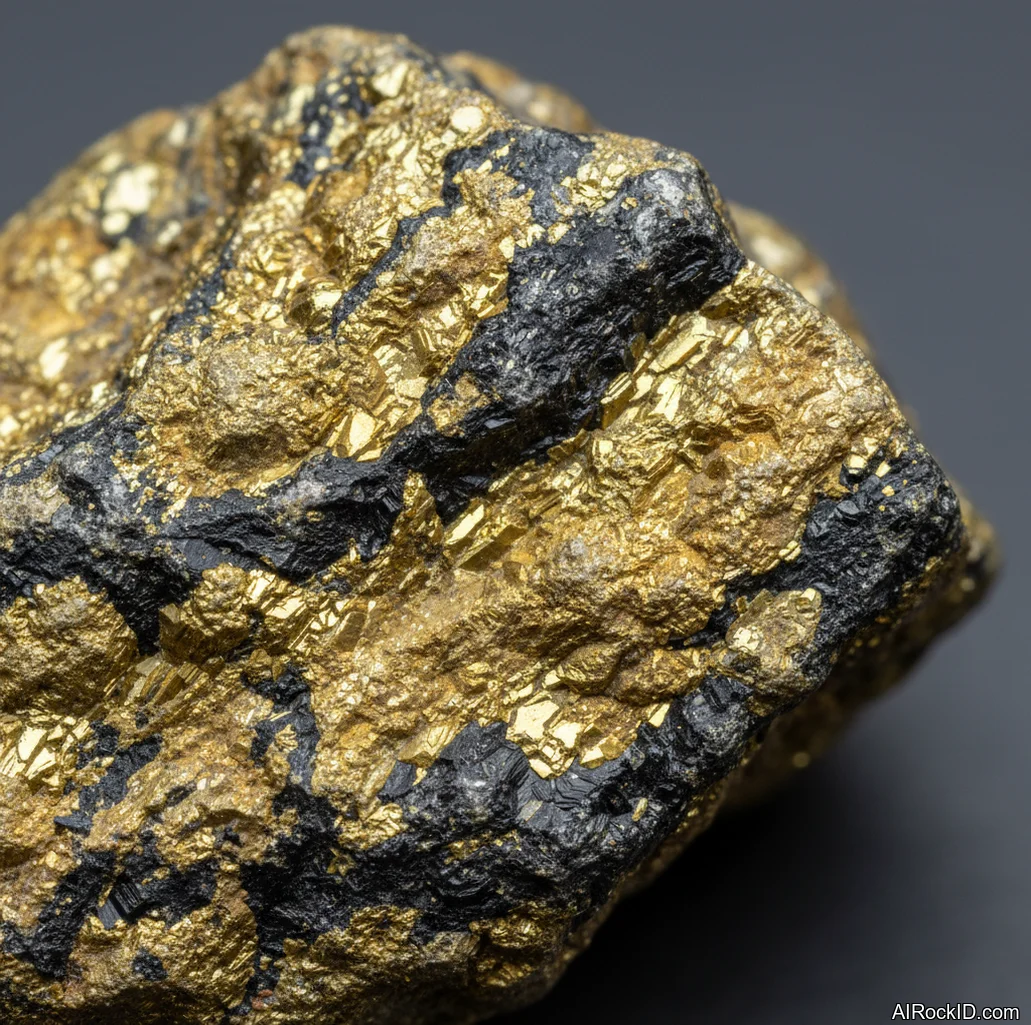
Use a reputable crystal identification chart to match your observations. Confirm the stone’s name and typical properties before adding it to your personal chart.
Cleanse and charge your stones
Before you place your crystals on the chart, you need to reset them. Crystals act as natural filters, absorbing energy from their surroundings. Over time, they accumulate static or emotional residue. Cleansing removes this buildup, while charging restores their structural integrity and vibrational frequency.
Think of your crystal chart like a battery. If you leave devices plugged in or draining power indefinitely, they stop functioning efficiently. Regular maintenance ensures your stones remain effective tools for protection and healing rather than dormant rocks.
Smoke cleansing is the most common method for clearing heavy energy. Pass each stone through the smoke of sage, palo santo, or cedar. Hold the stone for about 10-15 seconds per face. This method is best for stones like Black Tourmaline or Obsidian that absorb significant negative energy.
Some stones, like Clear Quartz and Selenite, can be rinsed under lukewarm running water. This physically washes away dust and symbolically clears energetic stagnation. Avoid this method for porous stones like Malachite or Pyrite, which can rust or degrade when wet.
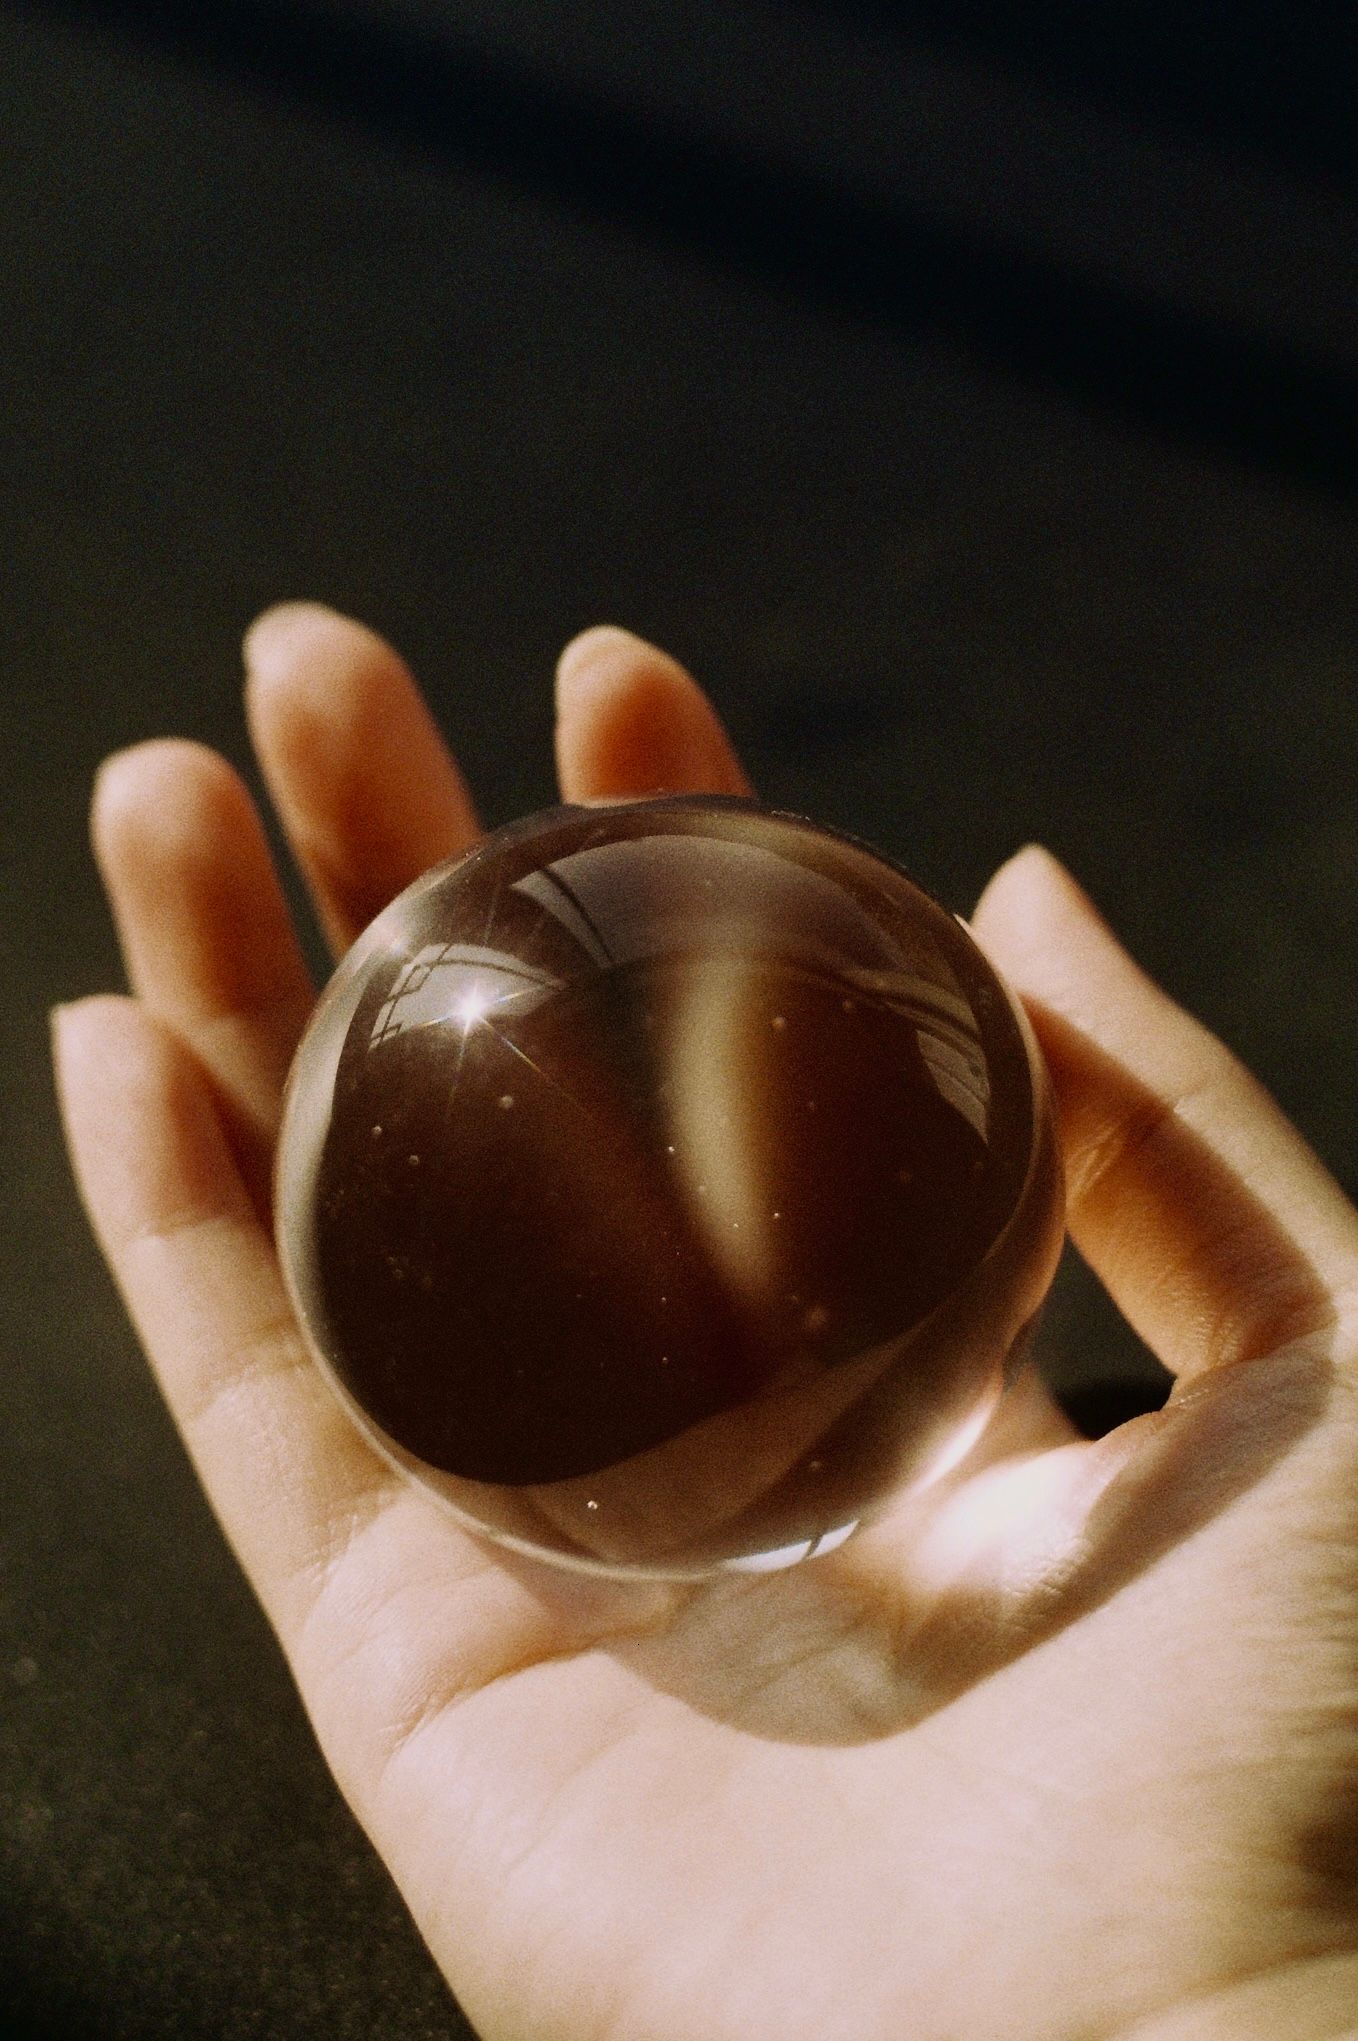
Place your chart on a windowsill or outdoors during a full moon. Moonlight is gentle and works well for sensitive stones like Amethyst or Rose Quartz. This method charges the stones with calming, intuitive energy without the risk of fading that sunlight can cause.
After cleansing, your chart is ready for use. You can place your chart in a quiet corner of your home or office. Re-cleanse the stones every few weeks or after intense emotional events to keep the energy flow steady.
Avoid common crystal mistakes
A crystal chart is only as effective as the care you put into maintaining it. Many beginners make the mistake of treating their stones as purely decorative objects, ignoring the physical and energetic maintenance required to keep the chart functional. By understanding how different minerals interact and react to their environment, you can prevent damage and ensure your tools remain clear.
Mixing incompatible energies
While crystals are individual pieces of stone, they can interact when placed in close proximity. Some combinations can lead to energetic interference, where the properties of one stone dampen or conflict with another. For example, placing a highly active stone like Black Tourmaline directly against a sensitive stone like Selenite can create a chaotic environment that confuses the chart’s overall purpose. To avoid this, group stones by similar properties or separate them with a neutral buffer like clear Quartz.
Ignoring water solubility
Not all crystals can be cleaned with water. Many common stones, such as Selenite, Halite, and Fluorite, are water-soluble or porous. Washing these stones will cause them to dissolve, crumble, or become cloudy, permanently ruining their structure. Always check the mineral hardness and solubility of your specific stones before attempting to cleanse them. For water-sensitive crystals, use dry methods like smudging with sage or placing them on a bed of Selenite dust instead.
Neglecting regular cleansing
Crystals absorb environmental energy, which can become stagnant over time. If you do not regularly cleanse your chart, the stones may lose their clarity and effectiveness. Establish a simple monthly routine to cleanse your entire chart. You can use sunlight (for light-fast stones), moonlight, or sound baths to reset the energy. This simple habit ensures your crystal chart remains a reliable tool for healing and protection.
Frequently asked questions about crystals
When building your first crystal chart, you may have specific questions about how different stones interact and how to verify what you have purchased. These answers focus on practical handling, identification, and selection for your personal chart.
What two crystals cannot be together?
Most crystals can coexist on the same chart, but strong stones like black tourmaline and selenite are often kept separate from delicate stones like rose quartz. Black tourmaline is highly protective and can feel overwhelming, while rose quartz offers gentle, soft energy. Placing them far apart on your chart prevents their properties from clashing, allowing each stone to function effectively.
How can I identify my crystal?
Start by observing the crystal's color, shape, and weight. Clear quartz is transparent and hard, while amethyst is purple and may have natural inclusions. For a more precise identification, use a simple streak test by rubbing the stone on unglazed porcelain, or consult a crystal identification chart online. These resources provide photo comparisons to help you match your stone to common mineral types.
What are the 7 main crystals?
The seven main crystals often referenced in chart building are clear quartz, amethyst, rose quartz, citrine, black tourmaline, selenite, and jade. Each serves a distinct purpose: clear quartz for amplification, amethyst for calm, rose quartz for love, citrine for abundance, black tourmaline for protection, selenite for cleansing, and jade for harmony. Choosing from these staples gives your chart a balanced foundation.
How do I know which crystal is for me?
Look for a crystal that resonates with your current needs or attracts you visually. If you feel stressed, amethyst or selenite might be suitable for calming your environment. If you seek confidence, citrine or clear quartz could be better choices. Trust your initial reaction; the right crystal for your chart is one you feel drawn to keep nearby.
No comments yet. Be the first to share your thoughts!